|
This is a tutorial for how to make a really cute Valentines Day Card on PicMonkey which is a free online picture editing website.  To begin, you'll need two pictures. One a pretty valentines-looking picture that's busy and bright and another lighter one that kind of matches your other picture but not busy. I found mine by looking up "pretty backgrounds" on google. Or you can use your own pictures or stock photos. pexels.com is a nice place to get royalty free photos for free. 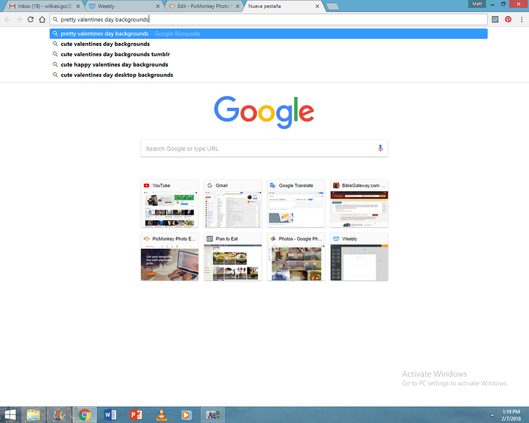 I chose this pretty rose picture for my busy picture. When you find the picture you want, right click on it and click "Save to computer." (Sorry mine is in spanish.) 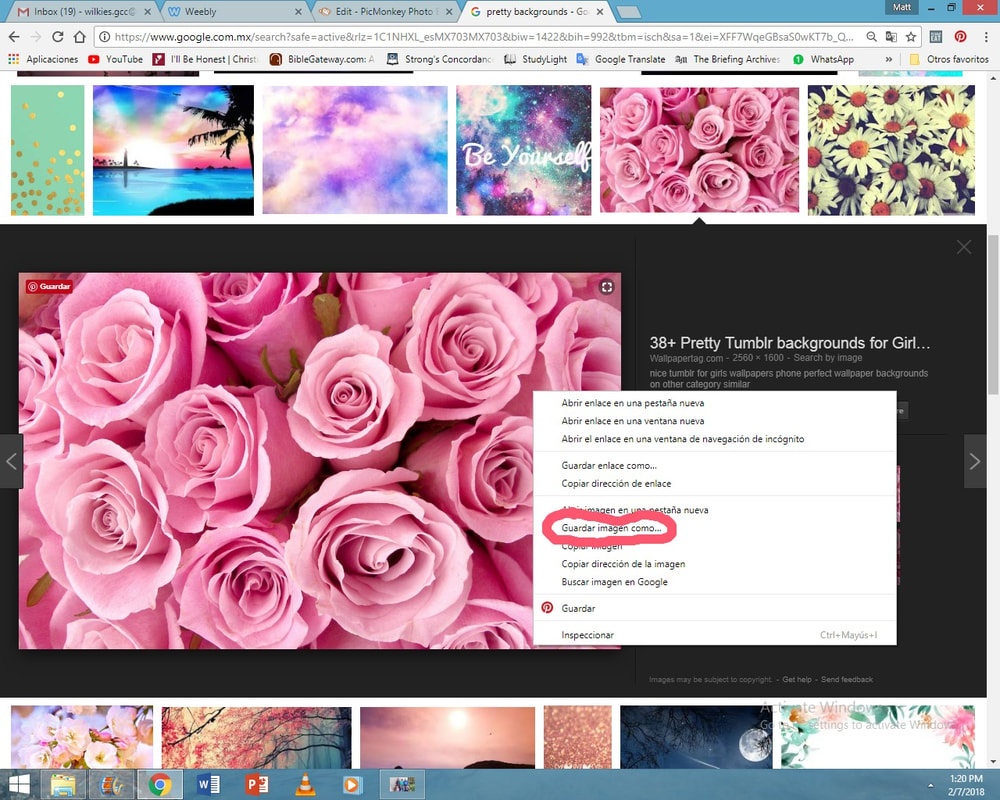 So I used this rose picture as my busy picture, and this picture below for my light one.  Now that you have your pictures, let's begin! Open up PicMonkey and click on design. 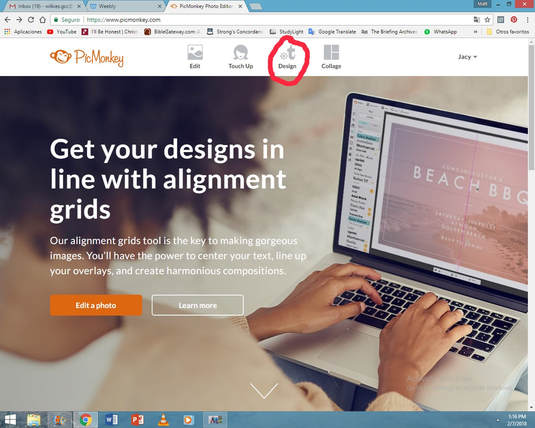 The square canvas that pops up is fine. You don't need to choose a canvas color either. Leave it on white. Click on frames. 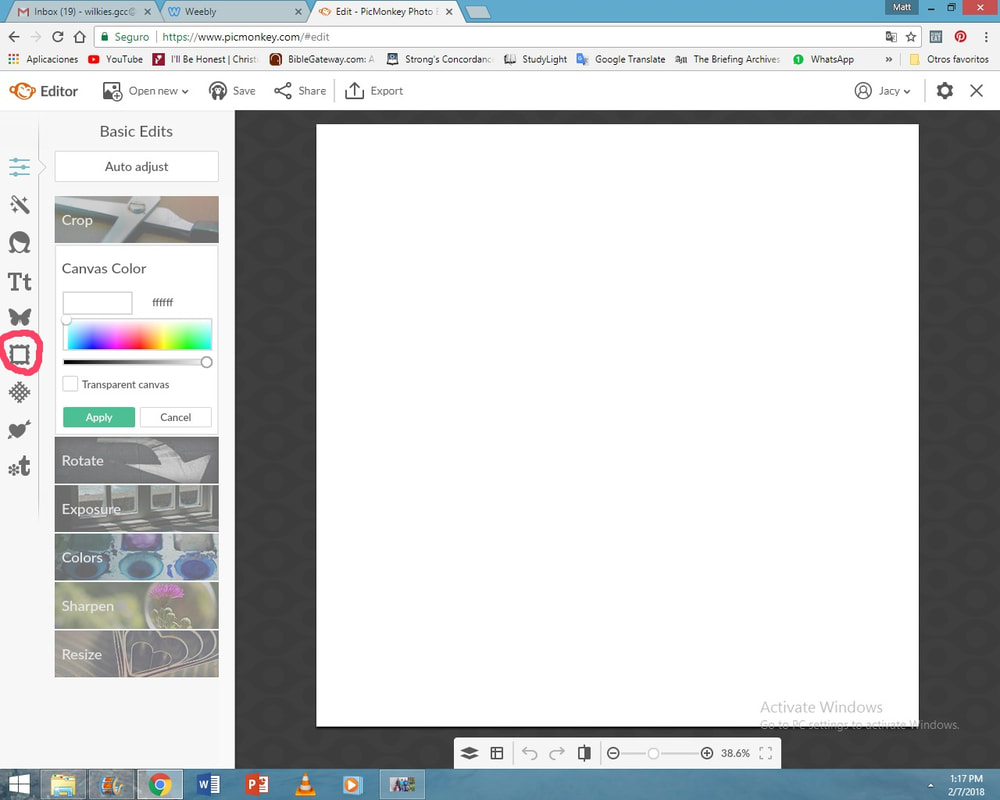 Now click on shape cutouts. 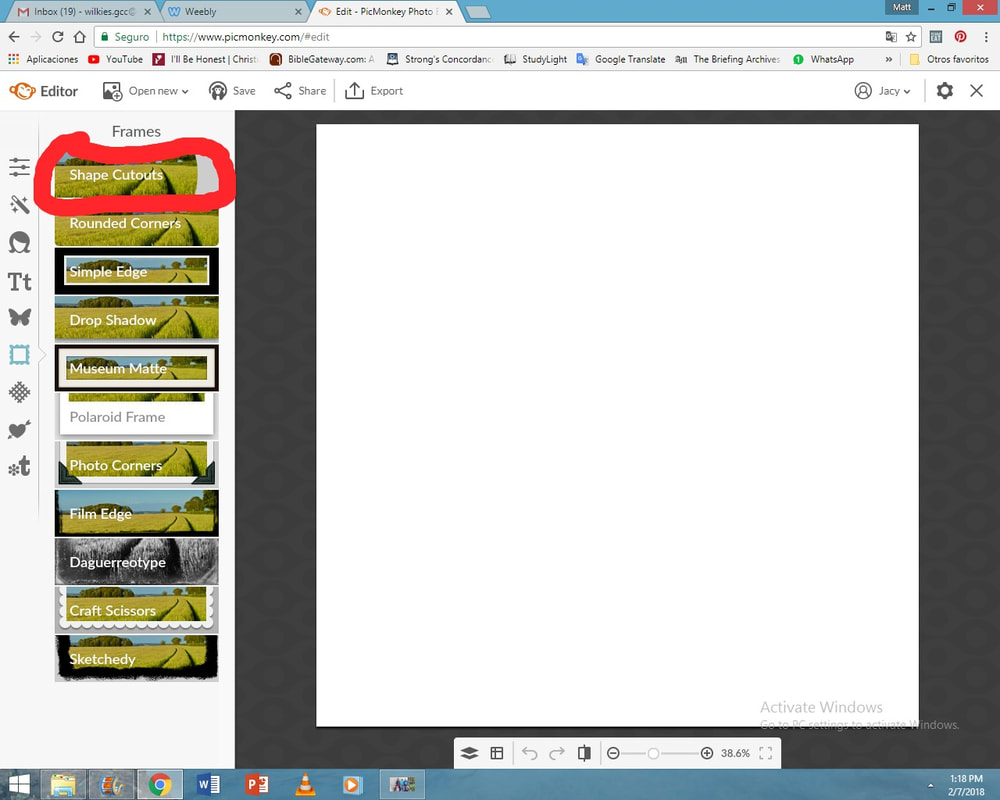 Choose the heart shape. 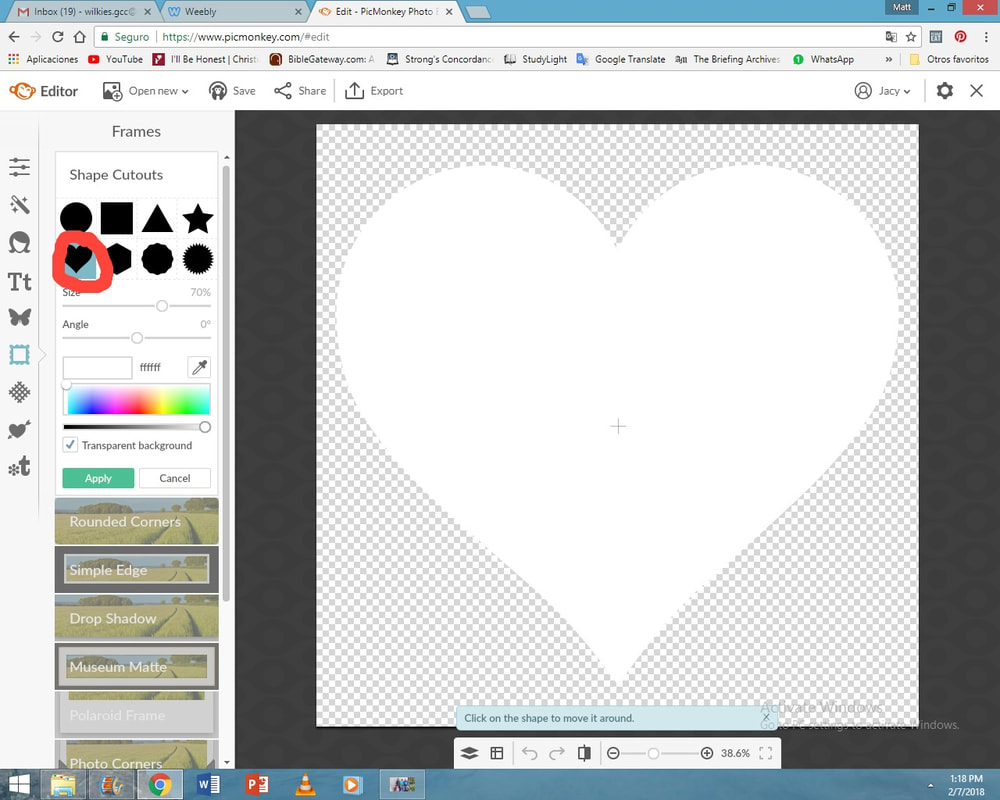 Uncheck transparent background, and make it a very light pink. Click aply. Next, click on textures (circled in blue) and then "your own" (circuled in red.) 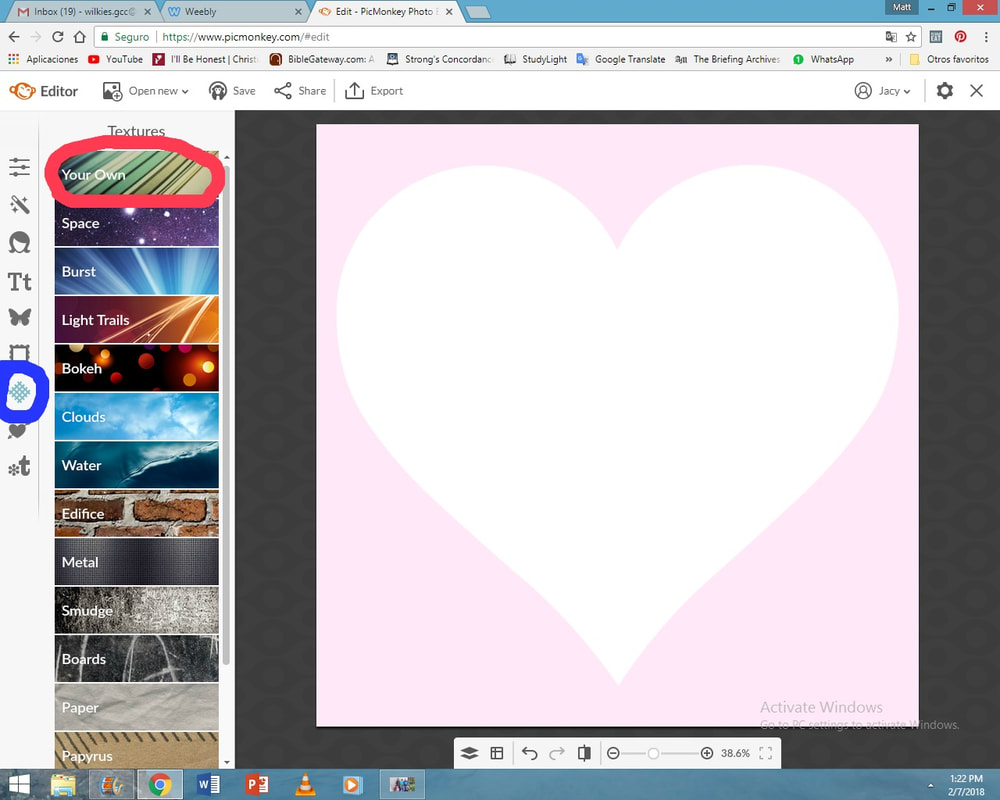 Click on "computer" and choose the busy picture that you got earlier. The busy picture. When you click on it, your page will look like this. Click on the brush tool circled in red. 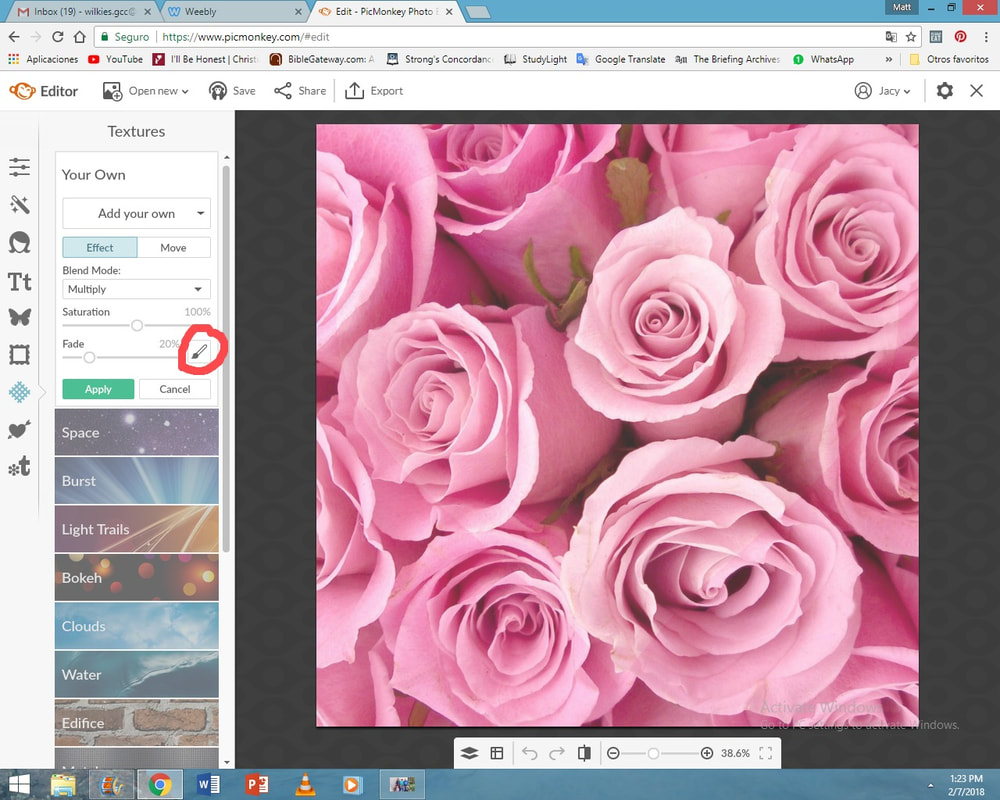 Then check the box that says "reverse effect." The roses will dissapear. Now make the brush size as big as possible and the hardness all the way down. The paint around your heart trying not to cover up the white border of the heart. Be careful, you can't erase this! When you're finished, click apply. It should look like this: 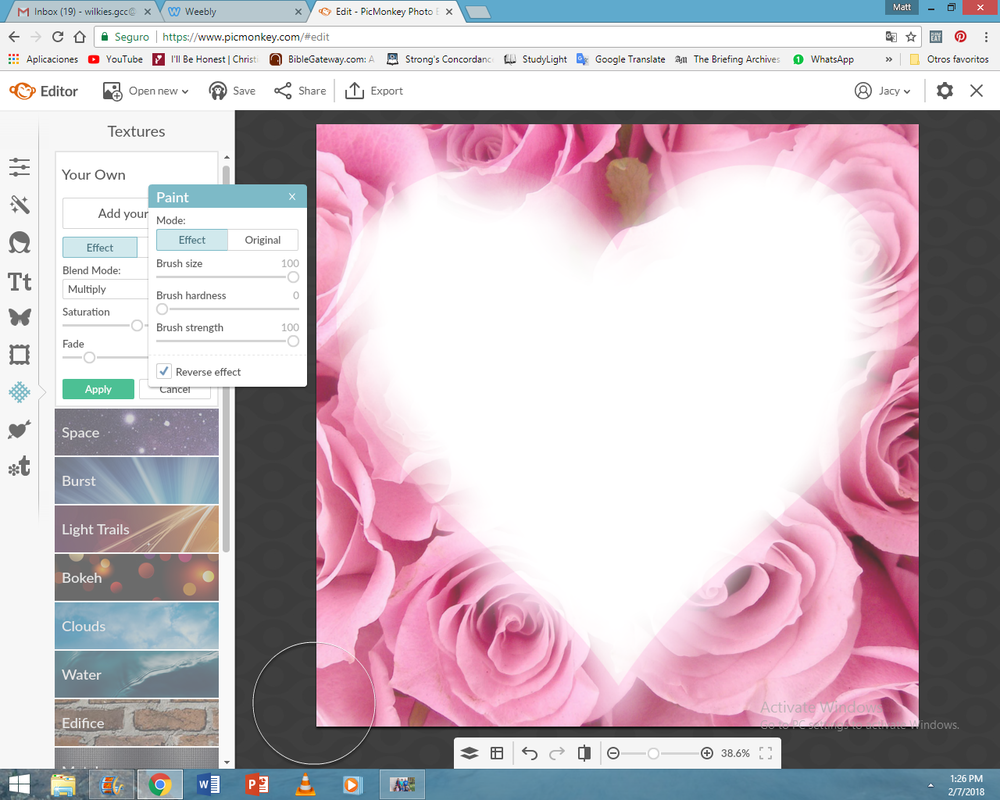 Now click on "your own" again and "computer". Choose the lighter less busy picture you chose earlier. Again, it will cover your whole page. Click the brush tool as before and click "reverse effect" and paint in your picture inside the heart. Stay away from the edges and make a heart shape. Don't worry, this isn't going to be perfect. The lighter your picture the less you can see mistakes. When you're finished, it should look like this: 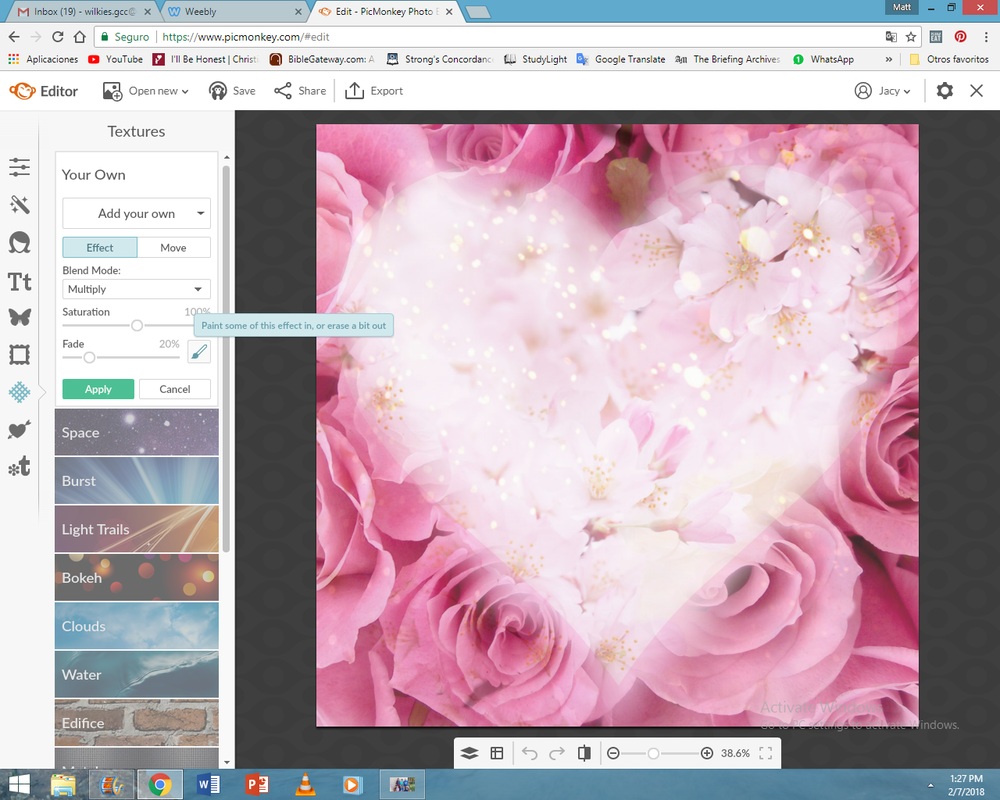 Good job! The hardest part is over! Now let's add a little decoration. Click on "text" (circled in red) and then click on a font. My favorite is Bonbon. (circled in blue.) 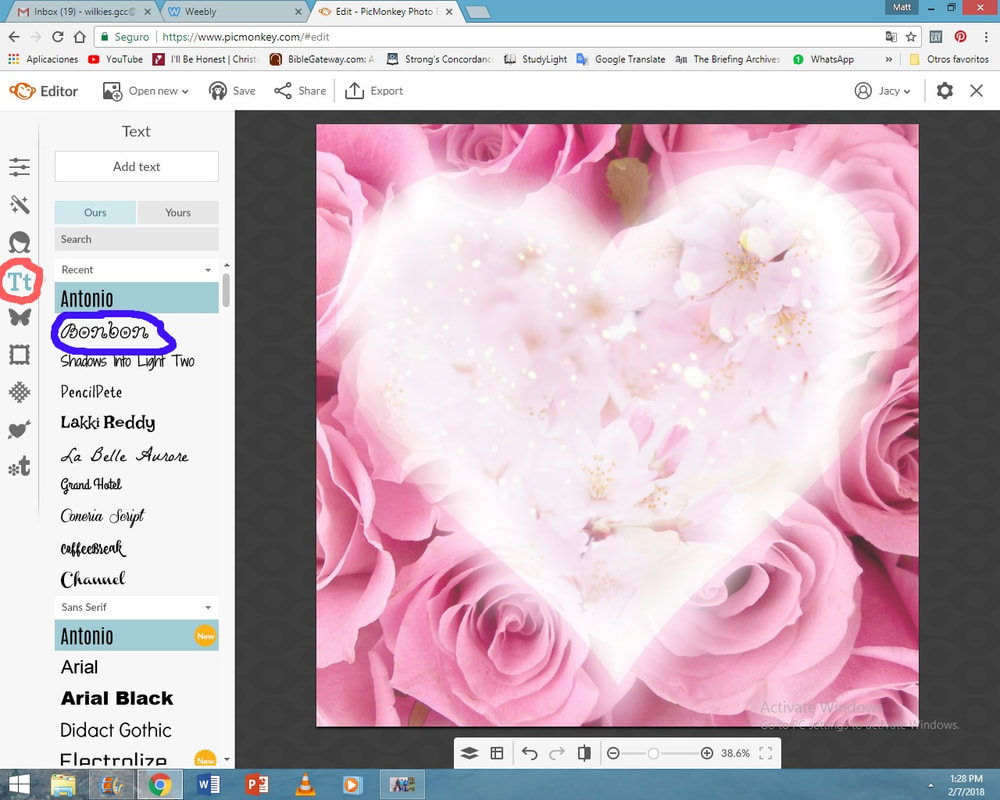 When you've chosen a font, click "add text". A text box will pop up. Write "Happy Valentines Day!" or anything else. 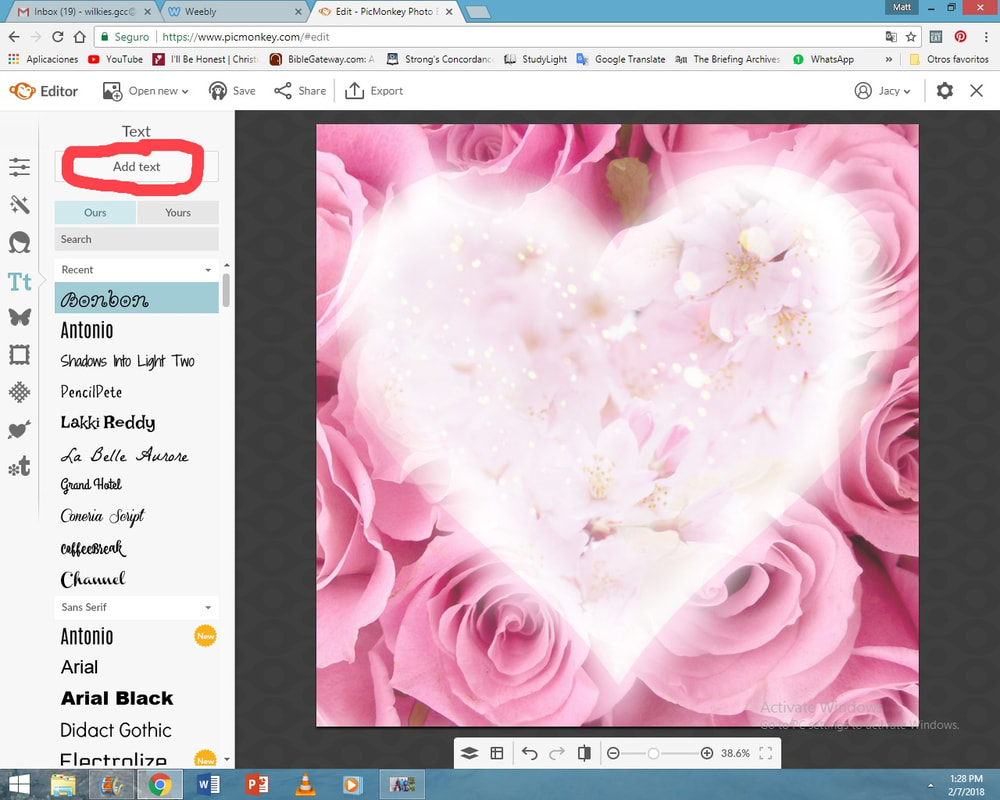 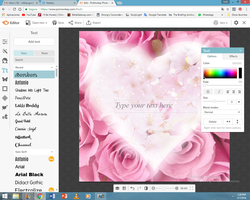 When you're done writing your text, click on center to center it and drag it to the middle of your heart. 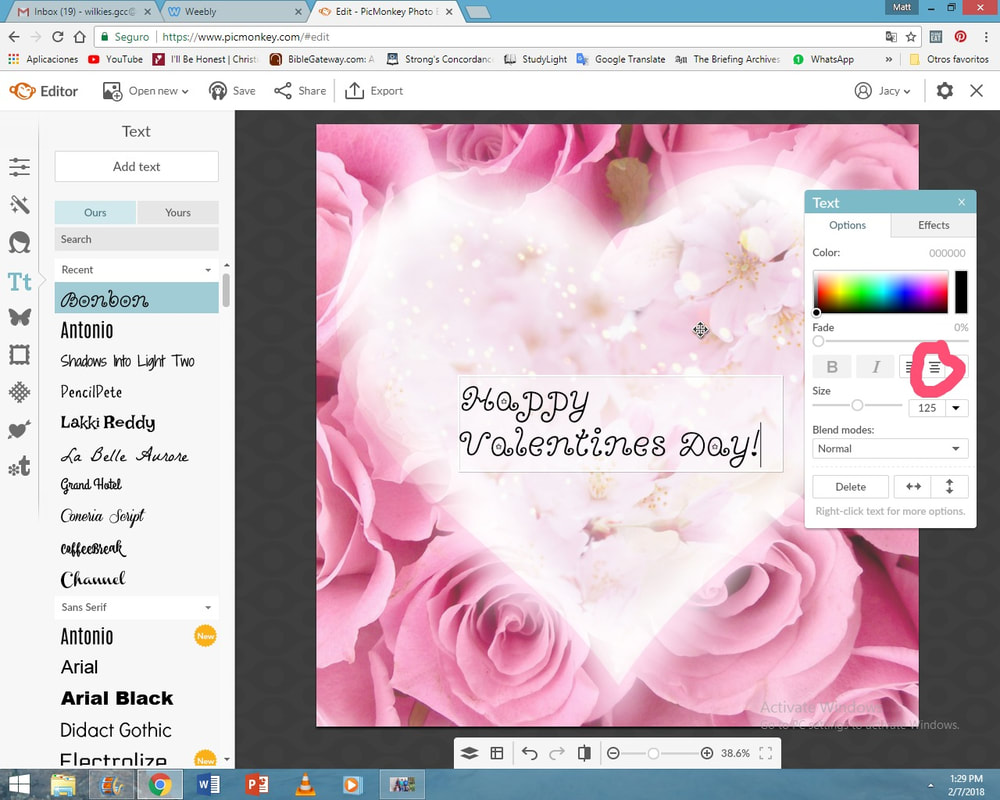 I want to make my text a litttle more bold so I'm going to click on "effects." 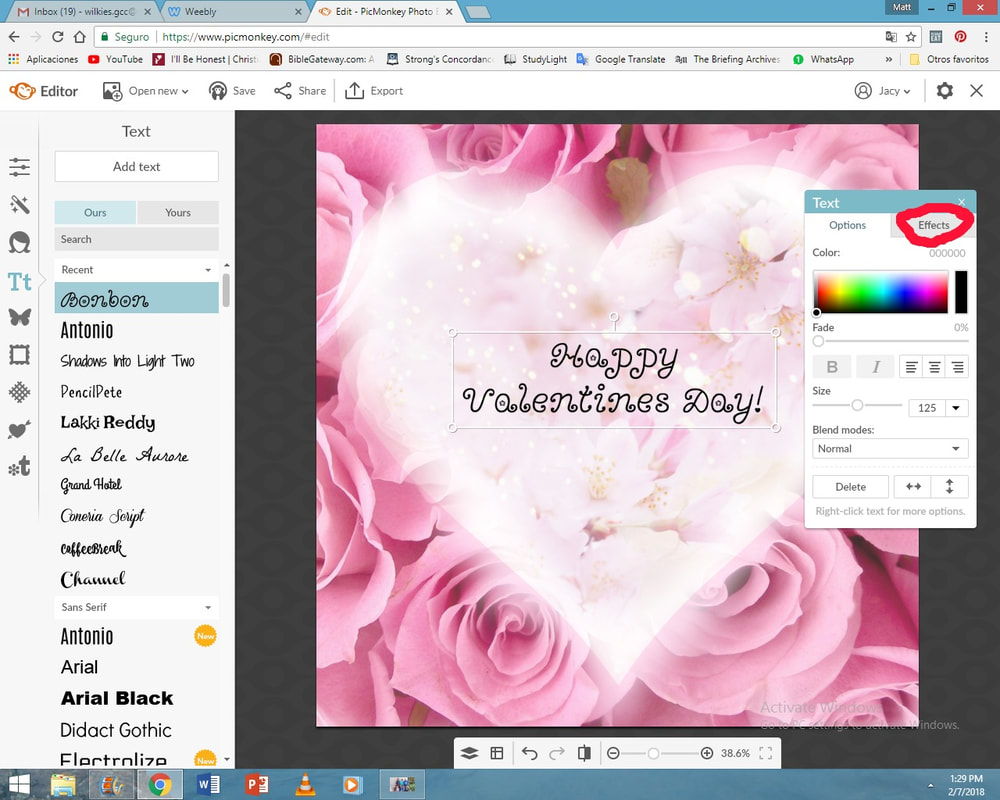 Then click on "dropshadow." 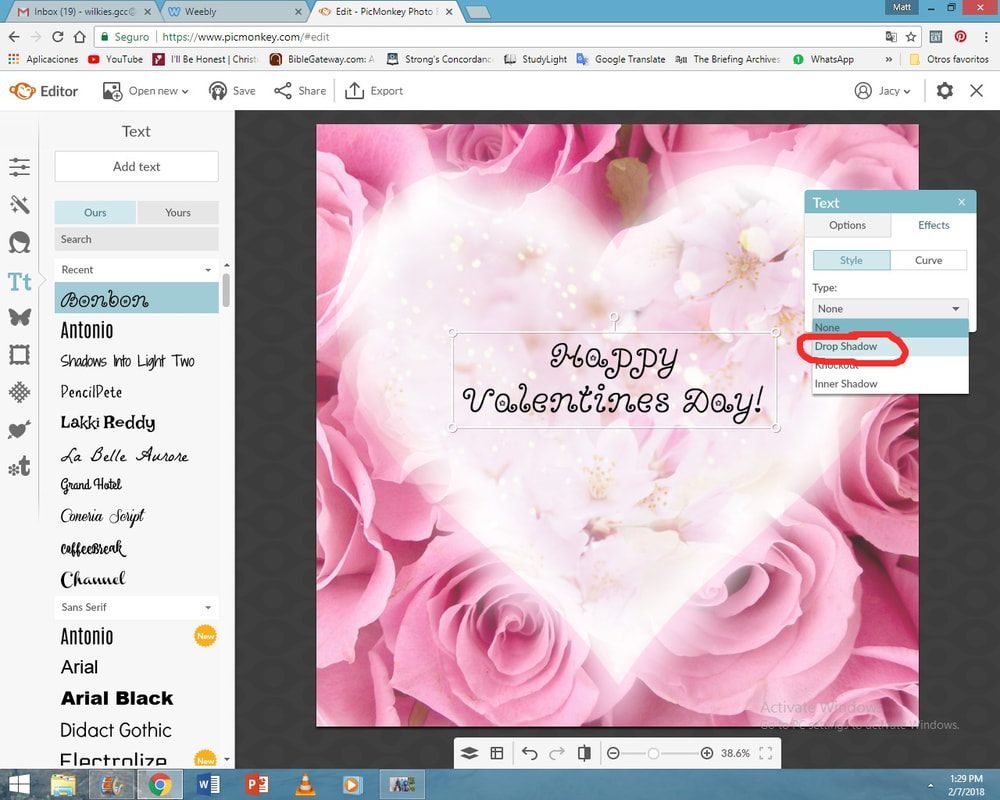 Then I'll drag the distance a little to the left. 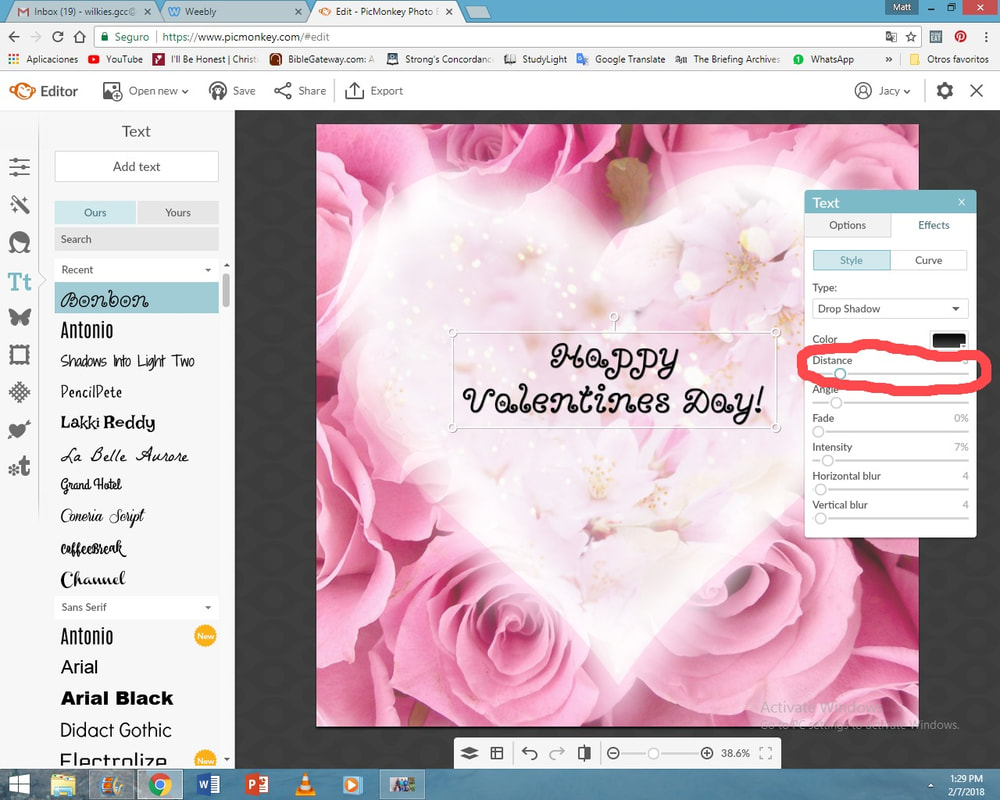 Much better. You may change the color of your text and dropshadow, but I'm going to leave mine black. Next I'm going to add a sticker. Click on "stickers" (circled in red) and then "hearts" circled in blue. 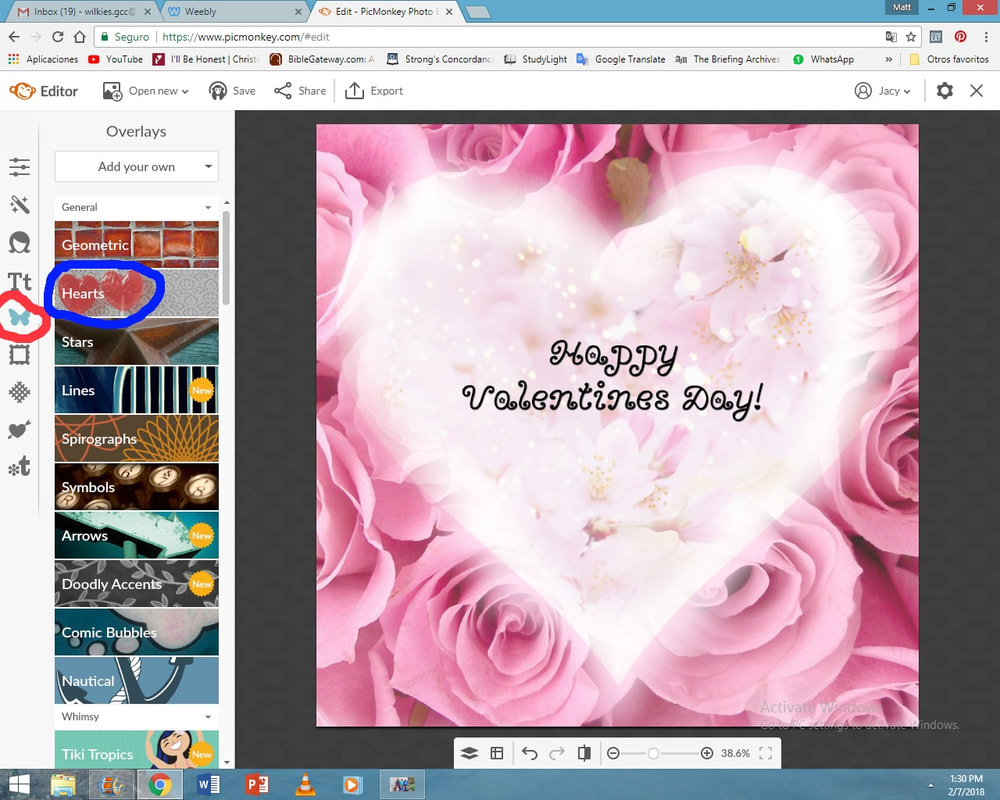 Click on your favorite heart sticker and drag it to the middle under your text. 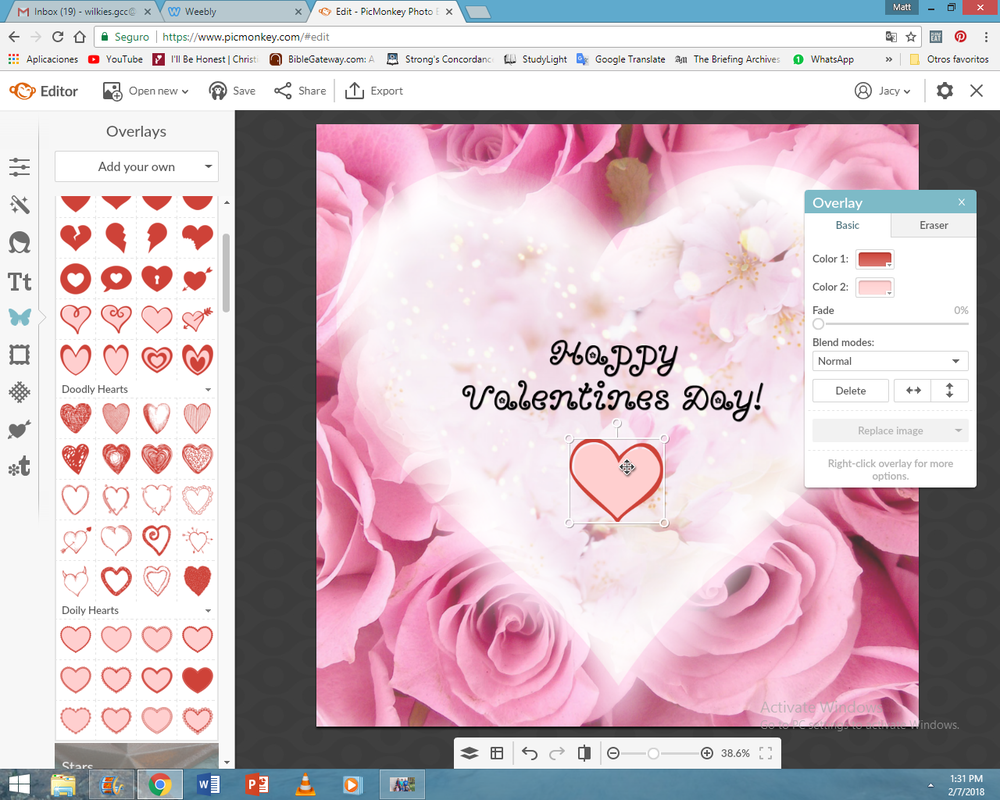 I'm going to change the colors of my heart a little. Click on the little color boxes and you can change the colr a little. 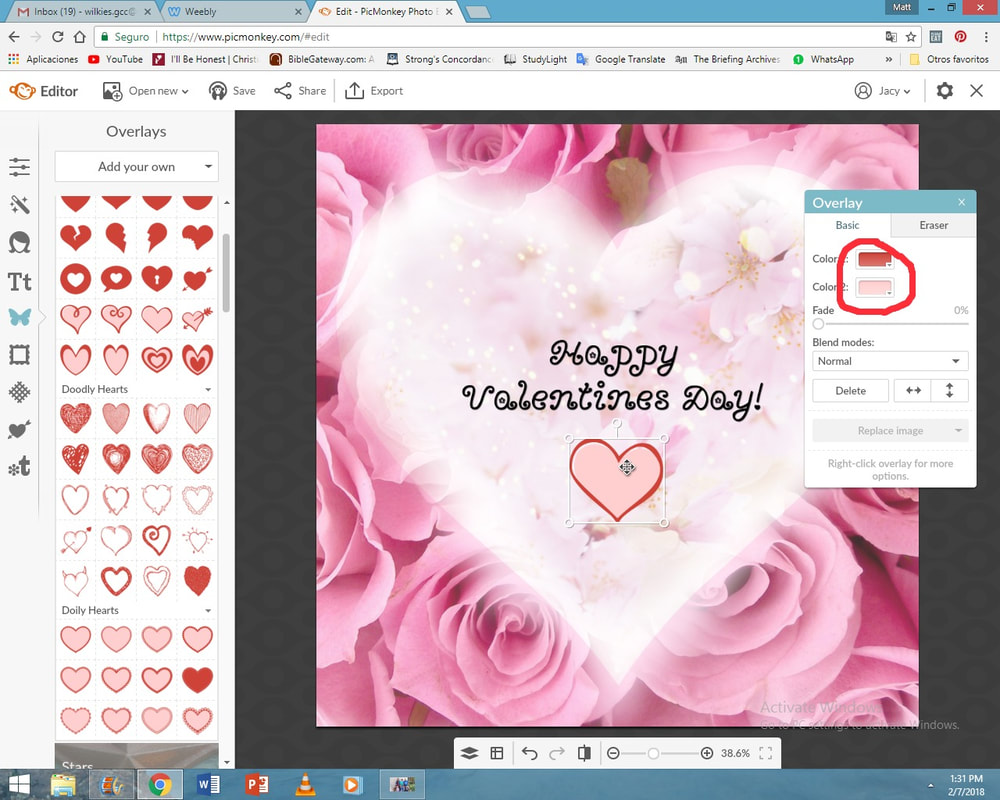 There! Now the colors are just right! Now you're all done! We just have to save it. Click on export. 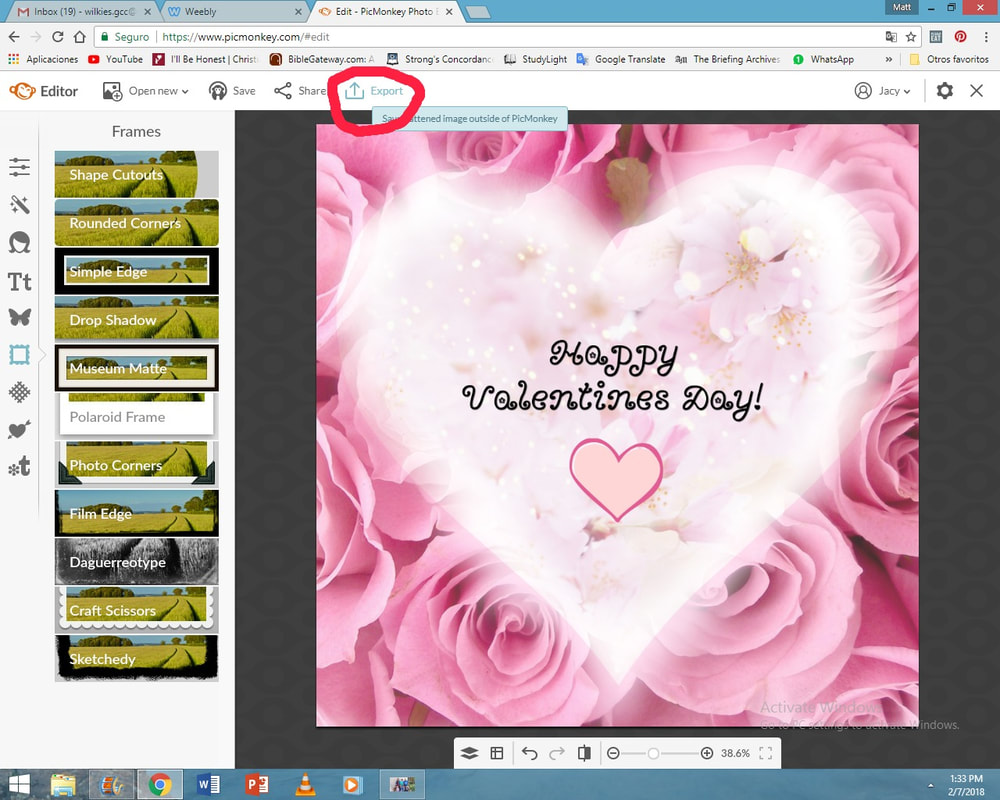 Then give your picture a name and click "export to computer." Choose a folder to put it in, hit "save" and you are done! 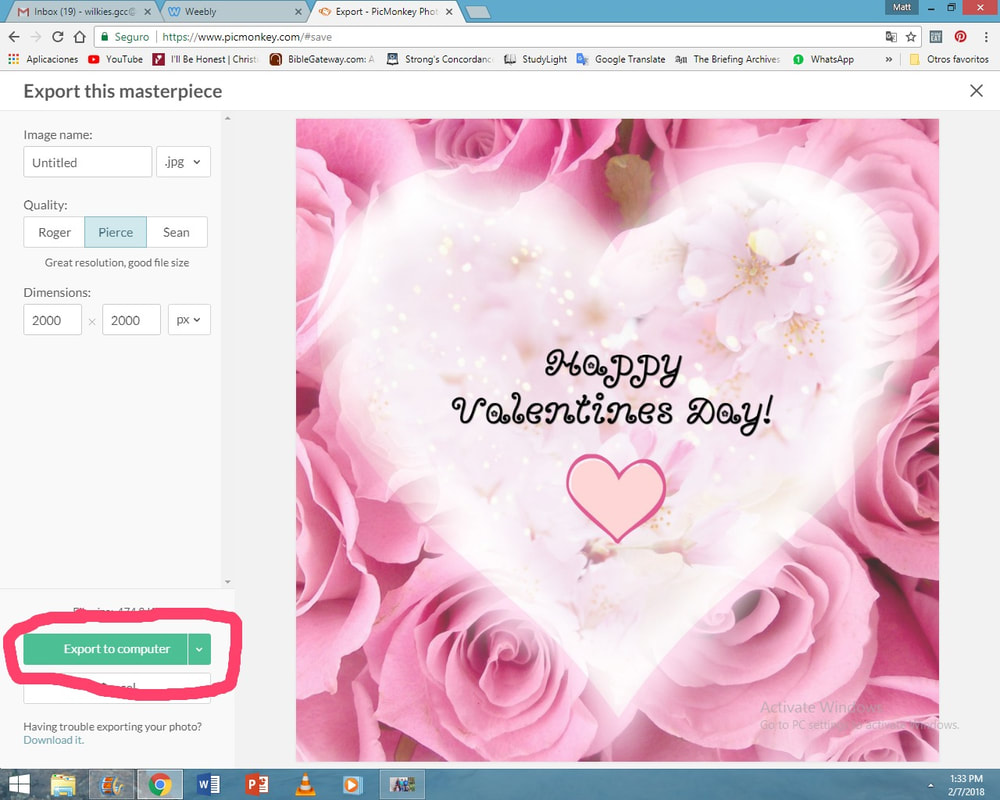 Great Job!!!!!  Of course, you can use all different pictures and vary this in many ways. It doesn't even have to be for Valentines Day! You can use another shape instead of heart and change everything up. Here are some examples:   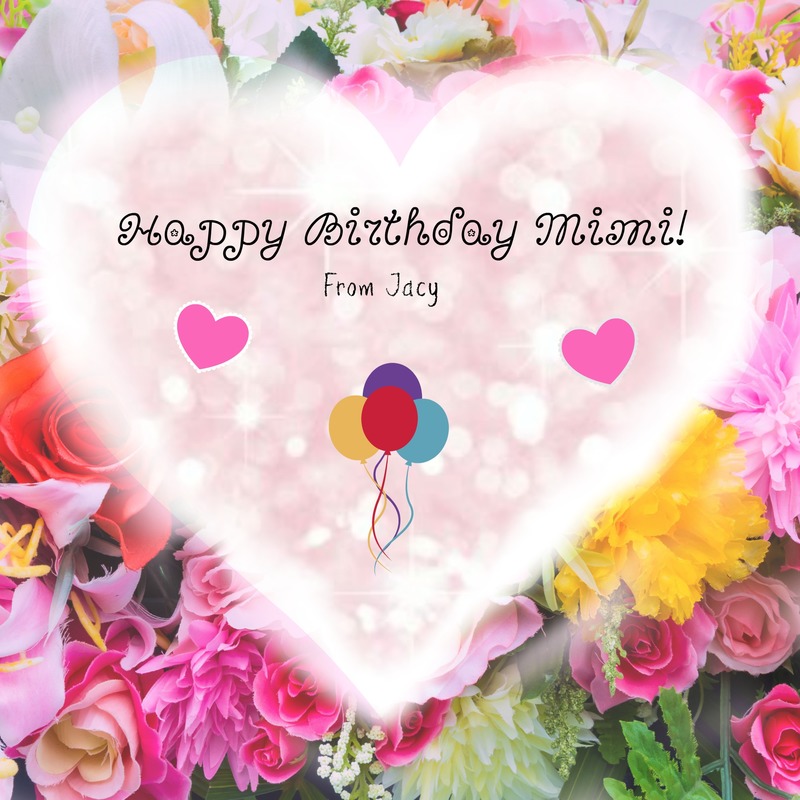    Not sure if you can do it or you don't have PicMonkey? You can get me to make one for you for free! It won't take more than a few days! I can make birthday cards, christmas cards, any kind of card! I can email it to you when I'm done! I can even put your face on your favorite superhero or take your favorite Bible verse and turn it into a pretty design! For more information of what I can do: Or order one right now! If what you want me to make involves a picture of yourself or someone else, please email it to me at: [email protected]
0 Comments
Leave a Reply. |
